
Your step-by-step routine
How do you keep the routine to ten minutes?
The two-minute preparation is followed by six stations of one minute each. The written repetitions take less than a full minute deliberately: the spare seconds are for resting, not adding repetitions. Allow twenty seconds between stations, including the change from sitting to standing. Finish with twenty seconds seated or standing quietly. Add time whenever a transition needs it.
Use one set of each movement, not multiple rounds. Set the chair near the wall before you start so you do not need to carry it during a transition. If your first run takes twelve minutes because you are learning the positions, that is fine; the ten-minute version assumes you have already read the instructions.
1. Seated ankle circles
One set of 3 circles each direction on each foot, about 3 seconds per circle. Rest during the remainder of the minute.
- Sit upright with your back supported if preferred. Extend one leg slightly so its foot clears the floor.
- Draw a small, slow circle with the forefoot while keeping your knee reasonably still.
- Reverse the circle, lower the foot and switch sides. Let the ankle move without clenching the toes.
Make it easier: Rest your heel on the floor and trace a smaller arc rather than holding the leg up.
Watch for: Do not rotate the whole leg to create a larger circle. Skip any part of the circle that produces catching or discomfort.
2. Seated heel-to-toe rocking
One set of 8 cycles with both feet, about 4 seconds per cycle; rest for the remainder of the 60-second station.
- Place both feet flat below your knees and keep your hands on your thighs.
- Raise the heels with the balls of the feet down, then lower them quietly.
- Leave the heels down as you lift the forefeet, then return to flat feet. Keep the movement slow in both directions.
Make it easier: Move one foot at a time and lift only a small distance.
Watch for: Avoid rocking your whole body backward to lift the toes. The chair should stay still throughout.
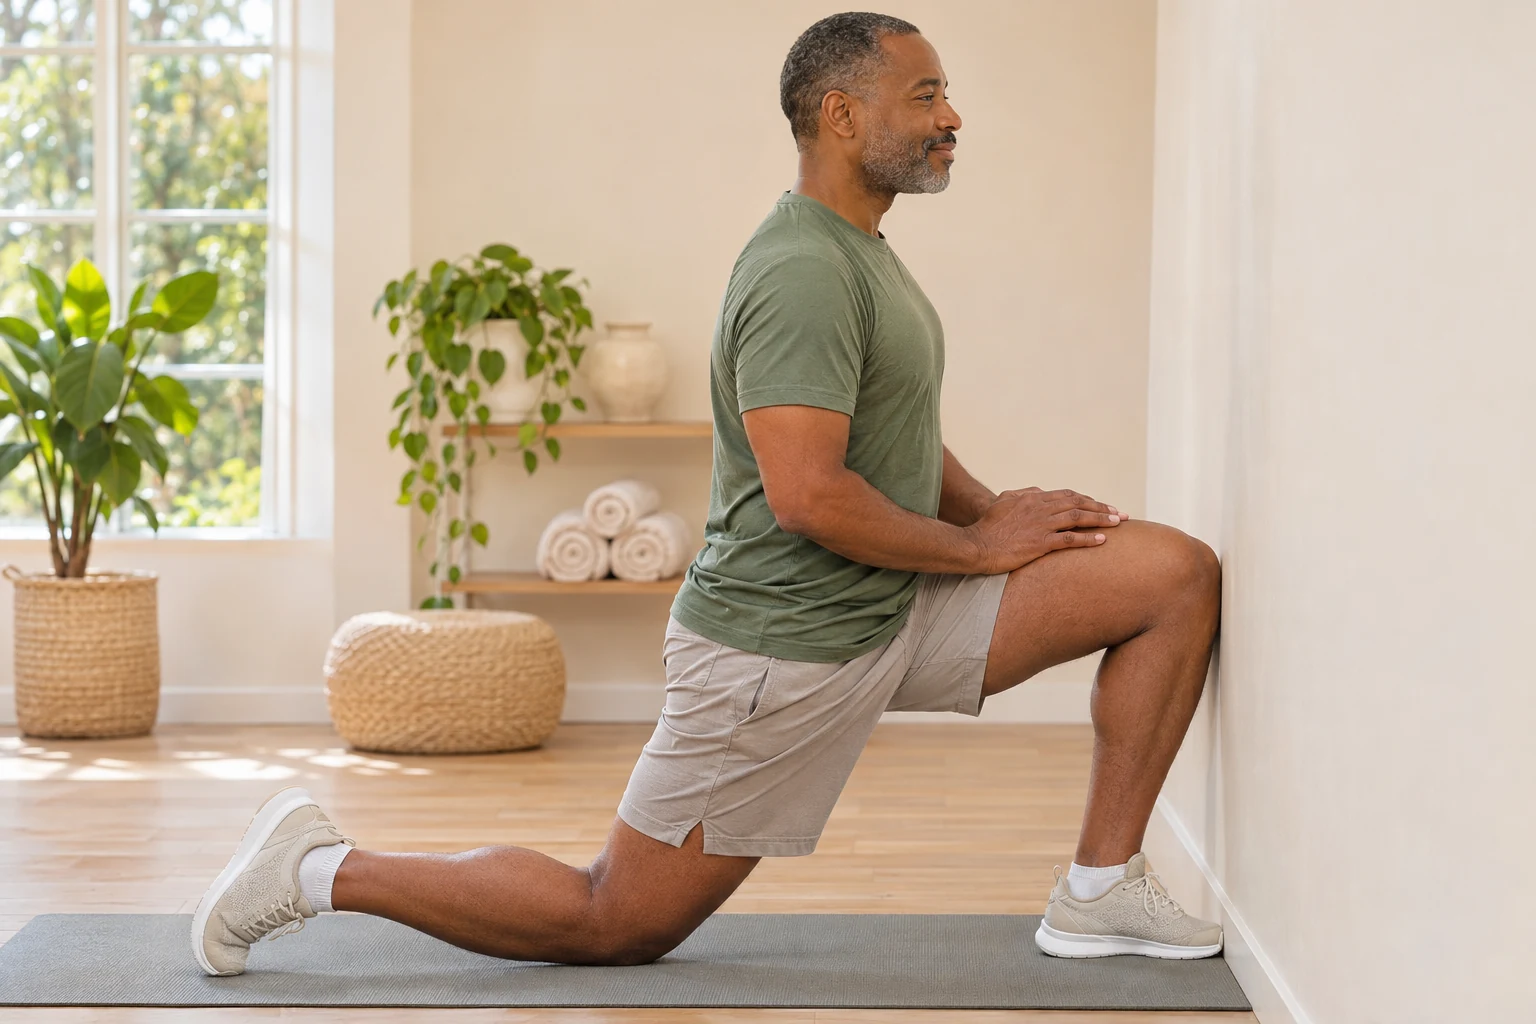
3. Supported knee-to-wall glide
One set of 4 glides per side at about 5 seconds each; use the remaining station time to change feet and rest.
- Face a wall with your fingertips supported. Set one foot a few inches from the wall and the other behind you for balance.
- Gently move the front knee toward the wall, following the direction of the middle toes and keeping that heel down.
- Return slowly. Move the front foot closer if the heel rises or the arch collapses markedly; touching the wall is optional.
Make it easier: Do a tiny forward knee glide while seated with your foot flat, without trying to reach a wall.
Watch for: Do not bounce into the front of the ankle or turn the foot far outward to gain distance.
4. Gentle bent-knee calf hold
One 20-second hold per side, allowing time to change legs and settle within the minute.
- Keep both hands on the wall and take a short split stance with feet pointing comfortably forward.
- Bend both knees slightly and keep the rear heel on the floor. Shift only until you notice a mild lower-calf stretch.
- Breathe normally for twenty seconds, release the position fully, then change legs.
Make it easier: Bring the feet closer together or shorten the hold to ten seconds without increasing its intensity.
Watch for: This is a sustained stretch, unlike the moving glides. Stop if pressure concentrates in the ankle joint rather than a gentle calf sensation.
5. Supported two-foot heel raise
One set of 6 repetitions, taking about 6 seconds each. Rest with both heels down for the rest of the minute.
- Stand behind the secured chair with both hands resting on its back and your feet hip-width apart.
- Rise a short distance onto the balls of both feet. Pause briefly, then lower the heels slowly.
- Distribute pressure across the forefoot rather than rolling onto the outer toes. Keep your knees softly straight, not locked.
Make it easier: Perform the same heel lift seated, keeping the balls of both feet on the floor.
Watch for: Heel raises load the calf muscles; they are not passive stretches. Avoid bouncing or hanging your heels off a step.
6. Supported forward-and-back weight shift
One set of 8 small shifts at around 4 seconds per cycle; rest during the balance of the minute.
- Continue holding the chair with both feet flat and parallel, knees slightly relaxed.
- Shift your body a small distance forward over the feet without lifting the heels.
- Return to the middle, then shift slightly back without lifting the forefeet. Keep the travel small enough that the chair is only light support.
Make it easier: Widen your stance slightly or do only the forward half of the movement.
Watch for: This is not a balance challenge. Do not let go of support or move so far that you need to step to recover.
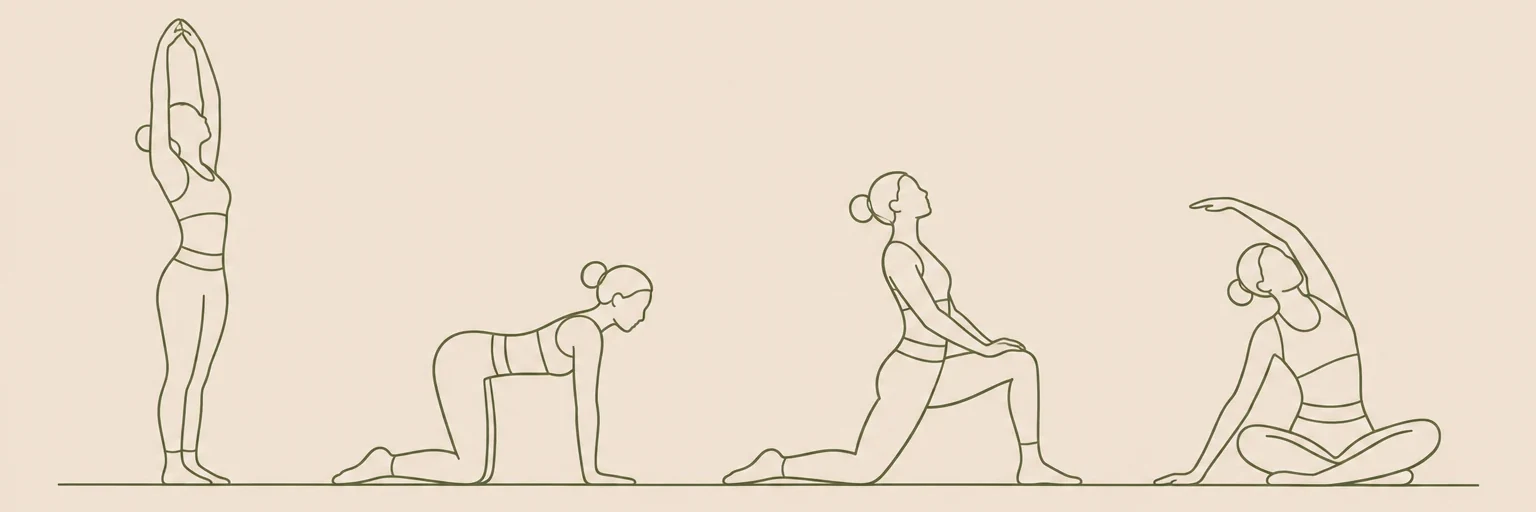
Illustrations are for orientation, not a depth or flexibility target.
What does knee-over-foot movement practise?
Moving the shin forward while the heel stays down uses ankle dorsiflexion. It is one part of walking, stepping and bending the knees, but ankle motion also includes pointing and turning the foot. That is why the routine includes circles and rocking rather than repeating only the wall drill.
There is no required wall distance here. Foot size, stance and how you measure can change the result, so avoid treating a number of inches as a pass-or-fail score. Look for a smooth, manageable movement with the heel settled. A smaller glide without a forced foot position is more useful than reaching farther by twisting.
When should you shorten or stop an exercise?
A gentle calf stretch and mild muscular effort are different from sharp pain, front-of-ankle pinching, new numbness or a feeling of instability. Stop the provoking movement if those occur. New swelling, a recent ankle injury or difficulty bearing weight calls for individual assessment rather than using this page as a recovery plan.
Skip the standing exercises if you cannot support your weight comfortably. Seated circles and rocking are lower-load options, but they still need to feel manageable. Follow any restrictions already given to you. The mobility exercise hub offers other body-area sessions; you do not need to work a sensitive ankle to complete a routine.
How can you build a repeatable ankle practice?
Start with two or three sessions a week and check how your feet and calves feel afterward and the following day. Keep the dose steady while learning. If it is consistently manageable, slightly smoother control or a modestly larger range is enough of a progression; do not add weights or step-edge drops just to make this routine harder.
If a knee bend still feels awkward, remember that hips and trunk contribute too. Try beginner hip mobility exercises in a separate session, or choose shoulder mobility exercises for an upper-body day. These are complementary movement practices, not a way to diagnose which joint is responsible for a symptom.
Frequently asked questions
Should I do ankle mobility barefoot?
You can do the seated work barefoot if comfortable. For standing work, choose stable footwear and a grippy surface. Avoid slippery socks, and keep any prescribed foot support unless your clinician advises otherwise.
Are heel raises a mobility exercise or a strength exercise?
They involve active movement against body weight and load the calves, so they include a strength element. The brief set here practises control; it does not replace a progressive strengthening program.
Should I push through a stiff ankle?
No. Start with a smaller motion and avoid forcing an end position. Persistent restriction, especially with discomfort or a recent change, is a reason to seek individual guidance rather than keep increasing the stretch.
Keep exploring mobility
Find more in our mobility guides, or make the timing your own with the routine builder.
Sources & context
These references inform general movement and safety guidance. The sequence and timings are editorial suggestions, not an individually prescribed program.