
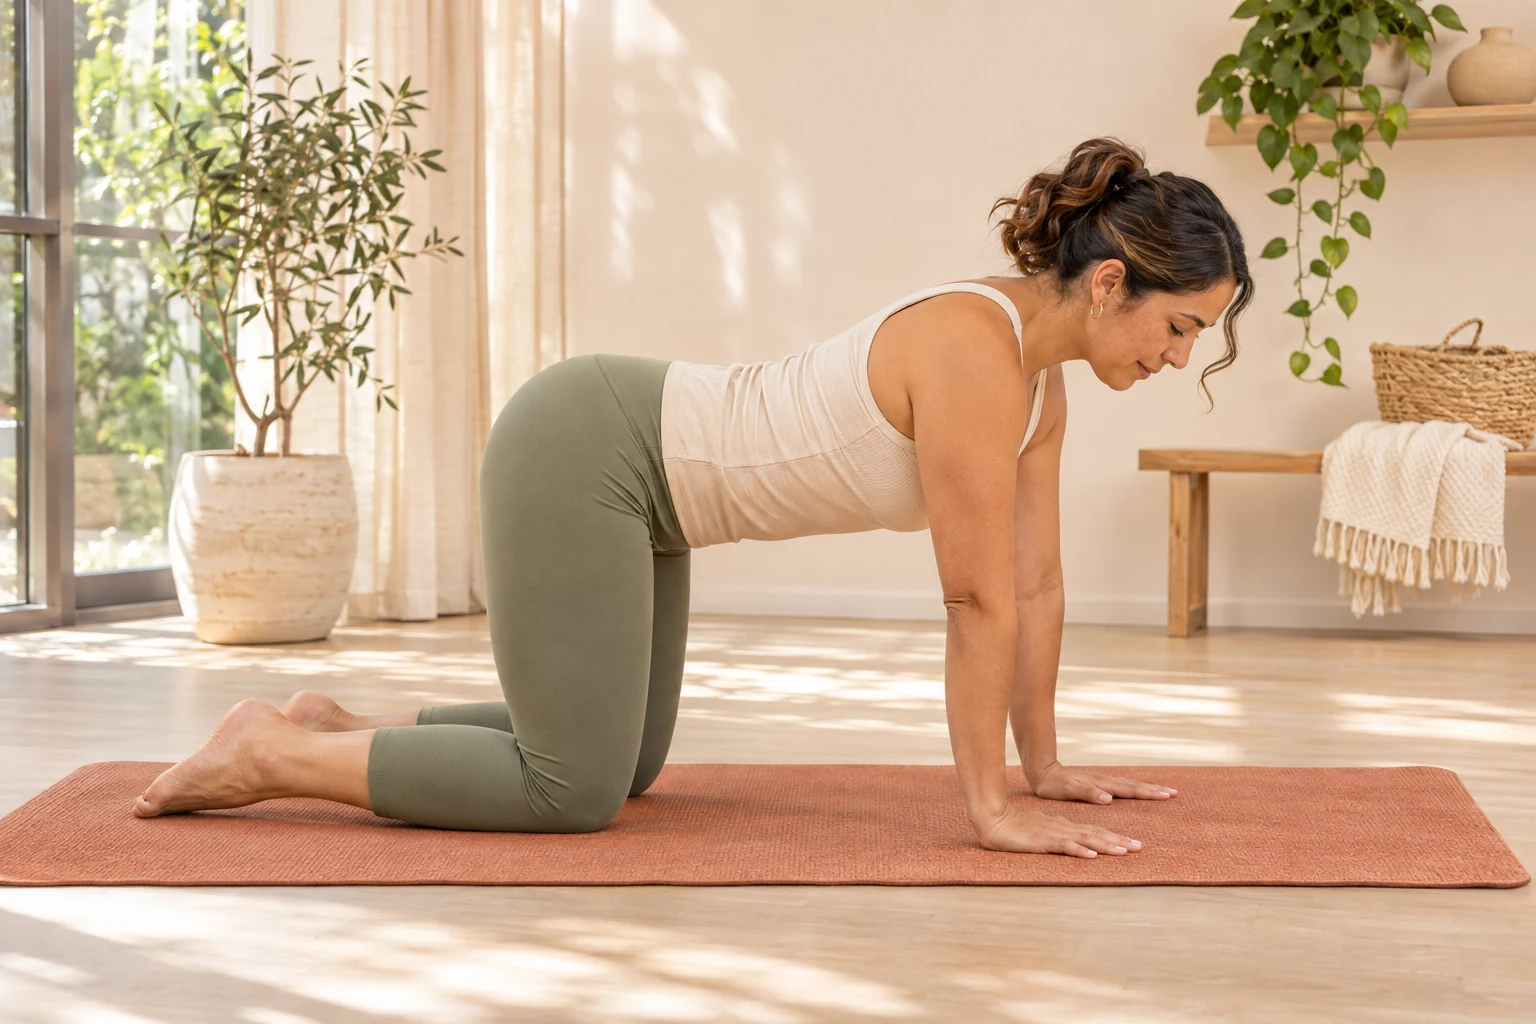
Your step-by-step routine
The twelve-minute schedule
Put your chair against a wall and clear space around it before starting. Warm up for two minutes: walk at an easy pace for 90 seconds, then spend 30 seconds making small shoulder circles and relaxed hand openings. If you prefer to stay seated, alternate heel lifts and gentle marching while sitting upright.
Start the ankle station at 2:00, hip gates at 3:15, hinges at 4:30, seated turns at 5:45, wall slides at 7:00 and wrist work at 8:15. Each station includes one minute for its repetitions and pauses, followed by 15 seconds for changing position. The two-sided movements share that minute; it is not a minute per side.
At 9:30, walk slowly for one minute, then sit and breathe normally for 90 seconds. You finish at 12:00. Longer transitions are fine: shorten the next work interval or accept a longer session rather than trying to move rapidly between the chair and wall. The clock organizes the practice; it does not judge your pace.
1. Supported ankle rocks
1 set of 6 rocks per side over 60 seconds, including a side change; allow 15 seconds to reset.
- Face a wall or counter with both hands supported. Put one foot a short step ahead of the other and keep the front heel grounded.
- Gently bend the front knee forward over the direction of the middle toes, then straighten it without locking. The heel stays down and the foot does not roll inward.
- Use a small smooth movement for six repetitions, then change which foot is forward. Both sides together use the first minute.
Make it easier: Shorten your stance and make the forward rock smaller.
Watch for: Do not press the knee forward through pinching at the front of the ankle or an uncomfortable pull in the calf.
2. Supported hip gate
1 set of 4 small circles per leg within 60 seconds; allow 15 seconds to transition.
- Stand beside a counter and hold it with one hand. Shift your weight onto the nearer leg with that knee softly bent.
- Lift the other knee only as high as you can without leaning. Move it a little outward, lower the foot and bring it back to the starting spot.
- Make four slow outward circles, then turn to give the other side the same support. Set the foot down between repetitions.
Make it easier: Keep your toes on the floor and draw a small semicircle with the moving foot.
Watch for: The circle should come from the hip rather than a large twist of your trunk. Keep the standing foot facing forward.
3. Hip hinge to the wall
1 set of 6 slow repetitions within 60 seconds; use 15 seconds to sit down.
- Stand facing away from a clear wall, with heels about a small foot-length from it. Soften your knees and place your hands on your hips.
- Send your hips backward until they lightly touch the wall, letting your trunk tip forward as one comfortable unit.
- Press through your feet to stand tall again without leaning backward. Move closer to the wall if you cannot reach it without rounding deeply.
Make it easier: Use an even shorter distance or hold a counter in front while making a small hinge.
Watch for: This is active weight-bearing movement, not a passive forward fold. Do not bounce against the wall.
4. Seated upper-body turns
1 set of 4 turns each way, alternating, within 60 seconds; allow 15 seconds to reset.
- Sit on the chair with both feet grounded and knees pointing forward. Cross your arms loosely over your chest or rest hands on your ribs.
- Turn your ribcage a small distance to the right while keeping your pelvis facing forward. Let your head follow comfortably rather than twisting it separately.
- Return to the middle and turn left. Make each out-and-back movement slow, and keep breathing throughout.
Make it easier: Reduce the turning range and keep hands resting on your thighs.
Watch for: Do not pull on the chair back to lever yourself further around or hold your breath at the end of a turn.
5. Forearm wall slides
1 set of 5–6 repetitions within 60 seconds; use 15 seconds to transition.
- Stand facing a wall and rest your forearms against it, with elbows below shoulder height. Place your feet where you can stand without leaning heavily.
- Slide both forearms upward a short distance. Stop before your ribs lift, your neck tightens or your shoulders feel pinched.
- Slide back down under control. The range may be small; you do not need to finish with straight arms overhead.
Make it easier: Slide one arm at a time or use hands instead of forearms, keeping the movement low.
Watch for: Avoid forcing your arms flat against the wall or shrugging hard to gain height.
6. Seated wrist and hand sequence
1 set: 5 gentle hand openings, 4 wrist bends each way and 4 forearm turns; use 60 seconds plus 15 seconds to finish.
- Sit comfortably with elbows near your sides. Open your hands wide but without straining, then soften your fingers again five times.
- Rest your forearms on your thighs with hands beyond your knees. Slowly bend the wrists up and down through a small range.
- Bring elbows back beside your waist and turn your palms upward, then downward. Move your forearms rather than swinging your shoulders.
Make it easier: Support more of each forearm and make the movements smaller, one hand at a time.
Watch for: Do not use the other hand to force a deeper wrist bend or continue through tingling.
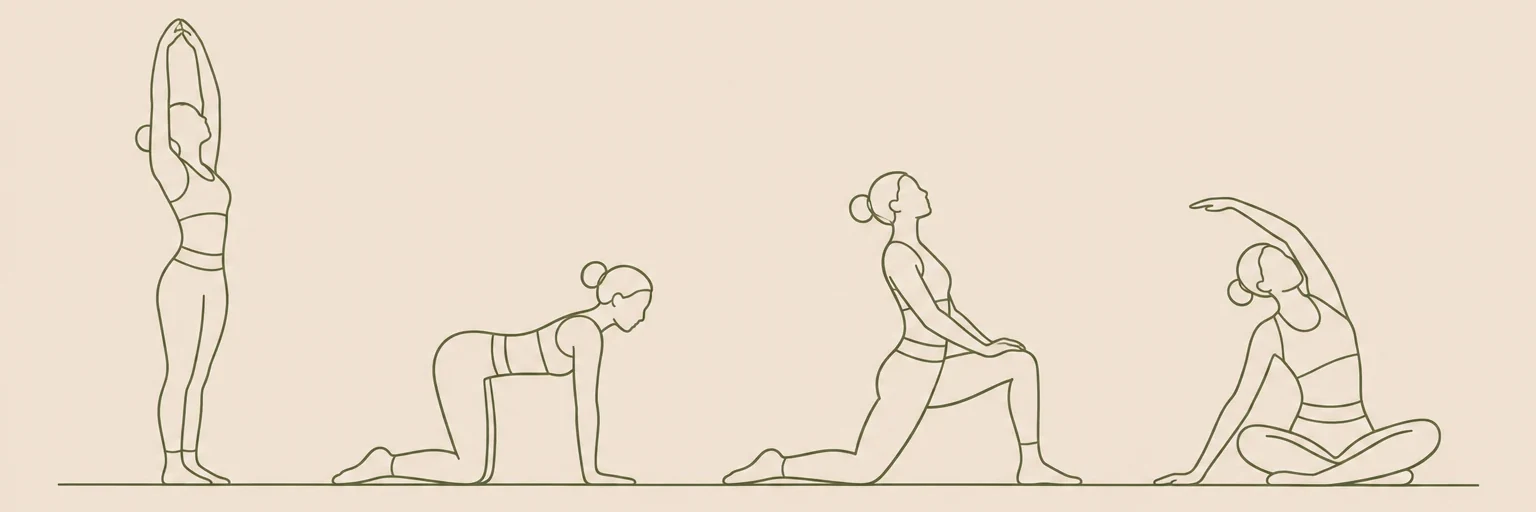
Illustrations are for orientation, not a depth or flexibility target.
Mobility practice is more than holding a stretch
In this routine, mobility means moving a joint through a range you can control. Repeated ankle rocks differ from settling into a long calf stretch, and a hip hinge differs from hanging toward your toes. Both active movement and passive stretching can have a place in exercise, but you do not need to add a long hold at the end of every repetition here.
The standing exercises also ask you to support body weight. That is a form of loading, even without dumbbells. Hold the counter whenever balance distracts you from the movement. Seated turning and wrist work are deliberately lighter, providing a change of demand rather than six equally difficult exercises.
How to find a useful range without measuring it
Use repeatability as your guide: can you make the next repetition look similar without leaning, bouncing or holding your breath? If your first wall slide is controlled but your fifth needs a large backward lean, reduce the range or end the set. More distance is not automatically a better repetition.
Notice the differences between sides without forcing them to match. You might use a smaller ankle rock on one side or need a hand on the counter for both hip gates. Record the version you used, not a flexibility score. Stop for sharp pain, pinching, tingling, numbness or dizziness; unfamiliar symptoms are not a cue to stretch harder.
Repeat the routine or choose a different focus
Begin with two or three sessions a week. If this stays easy and you feel comfortable afterward, a brief practice on other days is optional. Keep the same counts for a week or two before adding repetitions. This session does not replace walking, strength work or other activities you enjoy, and it does not promise a particular change in range.
For controlled mat work, see the 10 minute Pilates workout. If you want to focus on preparing to run, compare hip mobility exercises for runners. The routines hub groups these options by purpose so you can pick one appropriate session rather than adding everything together.
Seek individualized guidance before using a general routine if you have an injury, recent surgery or restrictions that affect exercise. Stop the session for chest discomfort, faintness or unusual breathlessness and seek appropriate help. Exercises should not be used to investigate or manage unexplained symptoms.
Frequently asked questions
Does full body mean every joint gets a separate exercise?
No. This is a short selection spanning the lower and upper body, not an exhaustive joint checklist. The neck and jaw, for example, do not need an extra stretching station to make the sequence useful.
Can I use this before strength training?
It can be a light movement introduction, but it does not replace practice sets of your planned lifts. Keep the effort low, then rehearse the specific exercises with suitable lighter loads before working sets.
Should every movement feel like a stretch?
No. Wrist turns or a small hip gate may feel like movement without any obvious stretch. Stay with the controlled motion rather than searching for a stronger sensation by adding force.
What if one station does not suit me?
Use its easier version, or spend the interval sitting or walking gently. You do not need a replacement that targets exactly the same area. If discomfort persists or recurs, get appropriate advice before trying that movement again.
Keep exploring routines
Find more in our routines guides, or make the timing your own with the routine builder.
Sources & context
These references inform general movement and safety guidance. The sequence and timings are editorial suggestions, not an individually prescribed program.