
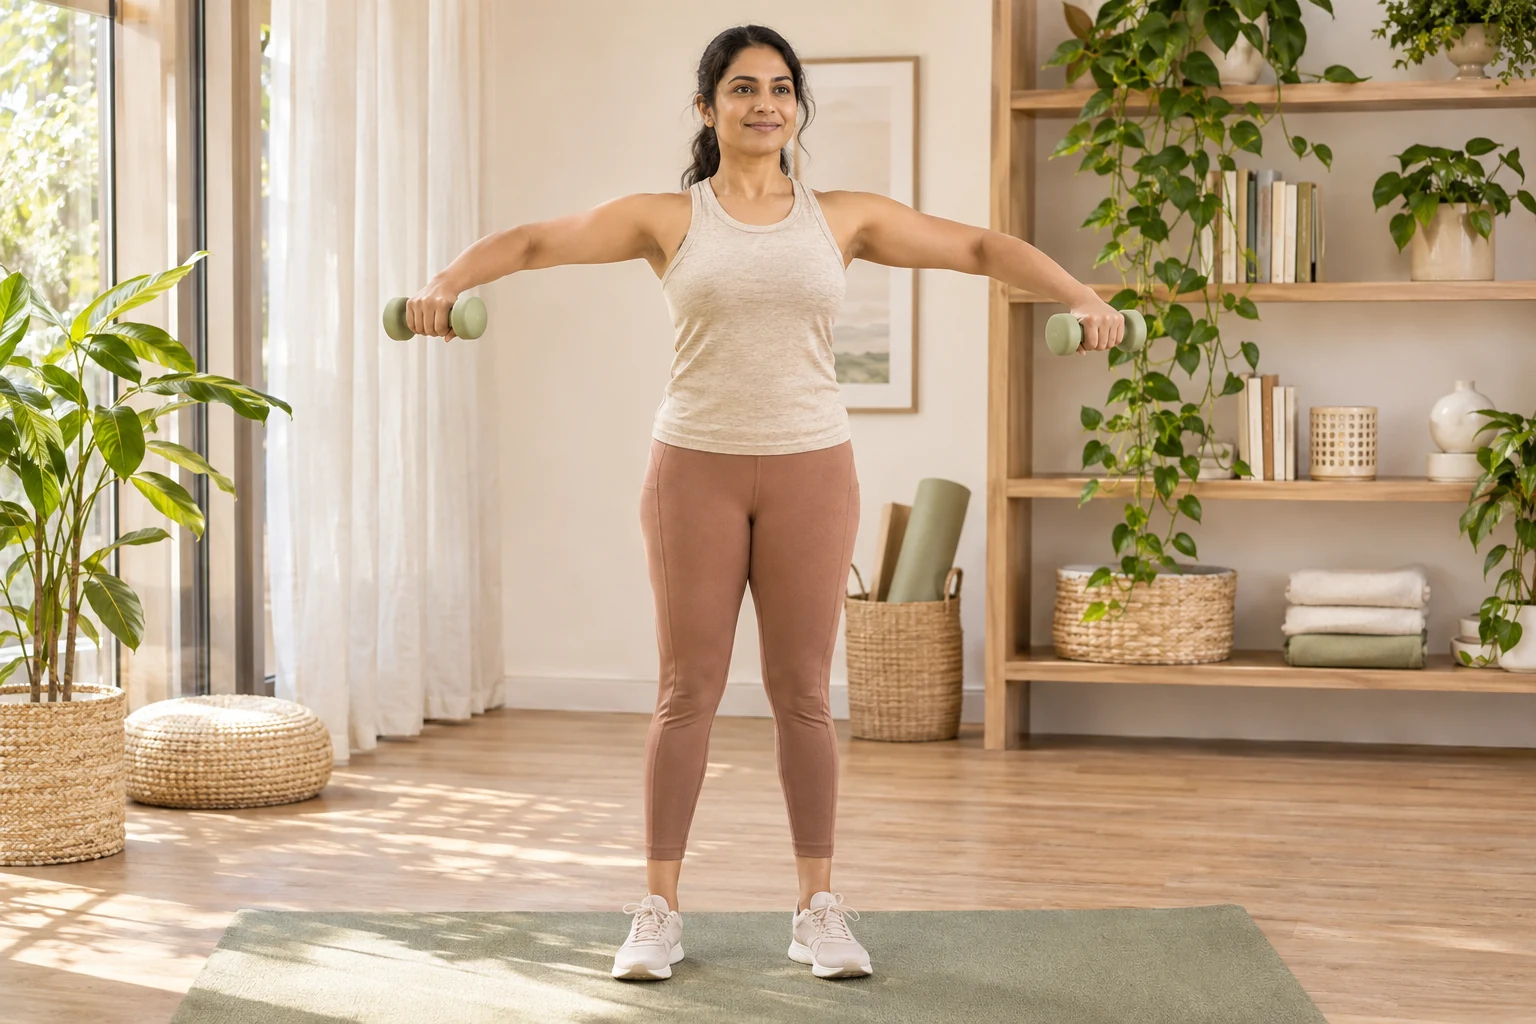
Your step-by-step routine
How to fit the session into 12 minutes
During 0:00–1:00, walk gently or march on the spot with arms resting naturally. During 1:00–2:00, open and close your hands, bend and straighten your elbows, then try a few low forward reaches. The warmup should feel easier than the routine, with no forceful stretching.
Each exercise gets 90 seconds for its single set, rest and a 15-second changeover. Rest with arms down once the listed repetitions are complete; do not fill the remaining time with extra circles. From 11:00–12:00, stroll slowly or sit and let your arms relax. The longer rests are intentional for beginners and make the stated duration include more than just work time.
1. Low open-and-close arms
Block 1, 2:00–3:30: one set of 8 slow repetitions, about 5 seconds each.
- Stand comfortably or sit with feet down. Bend elbows about a right angle and keep upper arms near your sides, palms facing upward.
- Breathe out as you rotate the forearms outward a small distance, without squeezing the shoulder blades hard together.
- Breathe in as the hands return toward the front. Keep elbows heavy and your ribs quiet.
Make it easier: Rest elbows lightly against your sides and use a smaller arc.
Watch for: Do not force the hands outward or twist the wrists to imitate extra shoulder range.
2. Alternating forward reach
Block 2, 3:30–5:00: one set of 5 reaches per side, alternating; about 4 seconds each.
- Start with hands near the lower ribs, elbows bent. Keep your gaze level.
- Reach one arm forward below shoulder height as you breathe out. Let the shoulder blade move naturally around the ribs.
- Draw the elbow back without jerking, then change sides. Stop short of locking the elbow.
Make it easier: Reach at waist height or keep the elbow more bent.
Watch for: Keep your torso facing forward rather than rotating or leaning to make the reach longer.
3. Small bent-elbow circles
Block 3, 5:00–6:30: one set of 6 circles in each direction; lower the arms between directions.
- Bring elbows a little away from the body, well below shoulder height, with hands relaxed near your chest.
- Trace small circles with the elbows at a comfortable pace, taking about 2 seconds per circle.
- Lower your arms, rest for a breath, then reverse. Use the remaining block time as recovery rather than holding the arms up.
Make it easier: Circle one elbow at a time while the other arm rests.
Watch for: Make the circles smaller if the shoulders creep toward your ears. Burning effort is not a requirement.
4. Wall push-up
Block 4, 6:30–8:00: one set of 6 repetitions, about 6 seconds each, then rest.
- Face the wall with palms around chest height and slightly wider than the shoulders. Step back a short comfortable distance.
- Bend your elbows diagonally back, allowing the body to move toward the wall as a unit. Keep heels supported and neck in line with the trunk.
- Breathe out as you press away, stopping with elbows soft. Start close enough that every repetition is controlled.
Make it easier: Move feet closer to the wall and bend the elbows less.
Watch for: Keep hands clear of slippery paint or glass. Stop if wrist pressure or shoulder pinching appears.
5. Forearm wall reach
Block 5, 8:00–9:30: one set of 6 short slides, about 5 seconds each.
- Stand close to the wall with forearms resting vertically against it, elbows below shoulder level and feet secure.
- Apply light pressure and slide both forearms upward a few inches, staying within an easy shoulder range.
- Slide down slowly. Keep the ribs over the pelvis instead of arching your back to reach higher.
Make it easier: Slide one forearm at a time, or simply hold light forearm contact for 2 seconds and release.
Watch for: Do not force your wrists or elbows flat against the wall. Lift off and reset if friction makes the movement awkward.
6. Wall shoulder-blade glide
Block 6, 9:30–11:00: one set of 6 small repetitions, about 5 seconds each.
- Place palms on the wall at chest height and stand close. Keep elbows almost straight but unlocked.
- Let the chest move a very small distance toward the wall as the shoulder blades move toward each other naturally.
- Gently press the wall away so the upper back broadens. Keep your body aligned rather than rounding the lower back.
Make it easier: Stand almost upright and make the glide barely visible, or practise the same reach seated without wall pressure.
Watch for: This is a small shoulder-blade movement, not another push-up. Avoid bending the elbows to create extra travel.
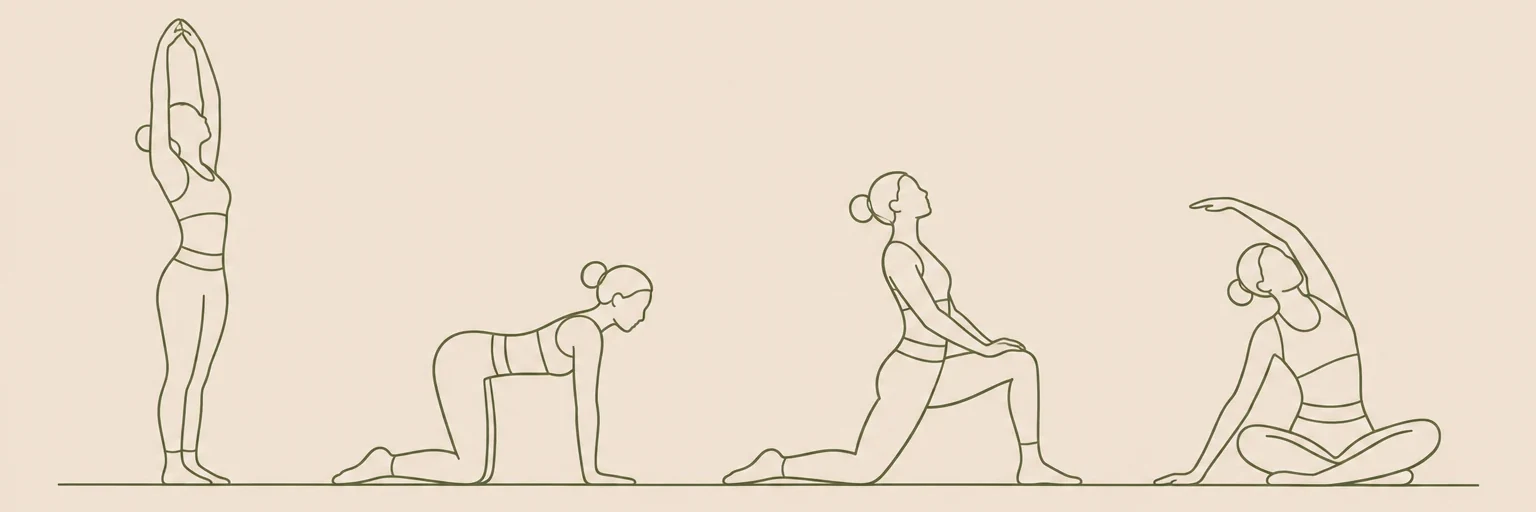
Illustrations are for orientation, not a depth or flexibility target.
What makes this a beginner arm session?
This is a Pilates-inspired sequence built around breath, measured movement and a steady trunk, rather than a complete traditional Pilates class. You move the shoulders and elbows, then practise supported pushing. The hands, shoulders and trunk all contribute; there is no need to isolate a tiny muscle or maintain one rigid posture.
Moving your arms through the air offers light work against gravity, not the same resistance as weights. Wall push-ups are more clearly loaded movement. Neither is passive stretching. If your goal is a broader introduction to floor positions and leg work, choose the Pilates beginner mat workout instead.
How much range and resistance is enough?
Keep the first three exercises below shoulder height at first. An arm held farther from the body creates a longer lever, so bending an elbow is a useful way to reduce demand. You may find one side feels less coordinated. Use the smaller comfortable range on both sides rather than forcing symmetry.
For wall movements, start near the wall and make sure your feet cannot slide. Increase the distance only after the full set feels stable, and change it by a small amount. Do not replace the wall with a chair back, rolling chair or countertop that cannot safely support pressure. You do not need a deeper angle for the session to count.
If you later want a prop, the Pilates ring workout explains light hand pressure and controlled release. Do not add a ring or weights to these arm circles simply because they feel easy; added equipment changes the exercise and its handling requirements.
Frequency, recovery and reasons to stop
Try two sessions a week with a day between them. After a few comfortable sessions, add one or two repetitions to a single exercise while keeping its rest period, or make a wall exercise slightly more challenging. Change one variable, not range, repetitions and wall angle together. The Pilates hub can help you choose a different session on another day.
Stop for sharp discomfort, tingling, joint pinching, dizziness or an unexpected loss of strength. Mild muscular effort is different from joint symptoms; you should not have to push through discomfort to finish. If you have an injury, recent surgery or a condition affecting exercise, seek suitable advice before trying unfamiliar loaded arm movements. This is general fitness guidance, not a rehabilitation program.
Frequently asked questions
Can I do the routine sitting down?
The first three exercises work seated on a stable chair. For the wall blocks, use the unloaded seated alternatives or leave them out. That creates a lighter movement session rather than an equivalent pushing workout.
Do I need light dumbbells?
No. Learn the movements without them. If you want progressive strength training with weights, follow a program that specifies suitable loads, technique and recovery instead of adding weights to every arm pattern.
What if my wrists dislike wall push-ups?
Stop the push-ups rather than changing your hand angle repeatedly under load. Try a gentle unloaded seated reach, or skip the block. The forearm exercise may be an option only if it feels comfortable; persistent symptoms deserve individual guidance.
Will this give me a particular arm shape?
No routine can promise a specific appearance or remove fat from one chosen area. This session offers practice with controlled movement and modest resistance, which you can include within a varied activity week.
Keep exploring pilates
Find more in our pilates guides, or make the timing your own with the routine builder.
Sources & context
These references inform general movement and safety guidance. The sequence and timings are editorial suggestions, not an individually prescribed program.