
Your step-by-step routine
Warm up and follow the 12-minute clock
For 0:00–1:00, walk gently around the room or march beside the chair. For 1:00–2:00, sit and alternate easy shoulder circles, ankle lifts and relaxed breaths. Inspect the ring beforehand for cracks, exposed edges or loose pads. Keep children and pets away from the working area.
Each 90-second block includes one set only. Complete the prescribed repetitions without rushing, use the remaining time for recovery, and reserve the last 15 seconds for setup. If getting to or from the floor takes longer, pause the clock: a safe transition matters more than finishing in exactly 12 minutes. From 11:00–12:00, put the ring down and finish with easy seated ankle movements and breathing.
1. Seated chest-height press
Block 1, 2:00–3:30: one set of 6 presses, about 5 seconds each; rest, then allow 15 seconds to change position.
- Sit tall on the chair with feet flat. Hold the ring vertically at lower-chest height with a palm on each outside pad and elbows comfortably bent.
- Breathe out as you press inward for 2 seconds, using a small amount of pressure. Keep the ring below your face and shoulders away from your ears.
- Ease off for 3 seconds without letting the ring snap open. Set it on your lap between repetitions if your grip feels uncertain.
Make it easier: Use almost no compression, or put the ring down and gently press your palms together.
Watch for: Keep wrists in line with forearms. Do not lock the elbows or chase maximum ring deformation.
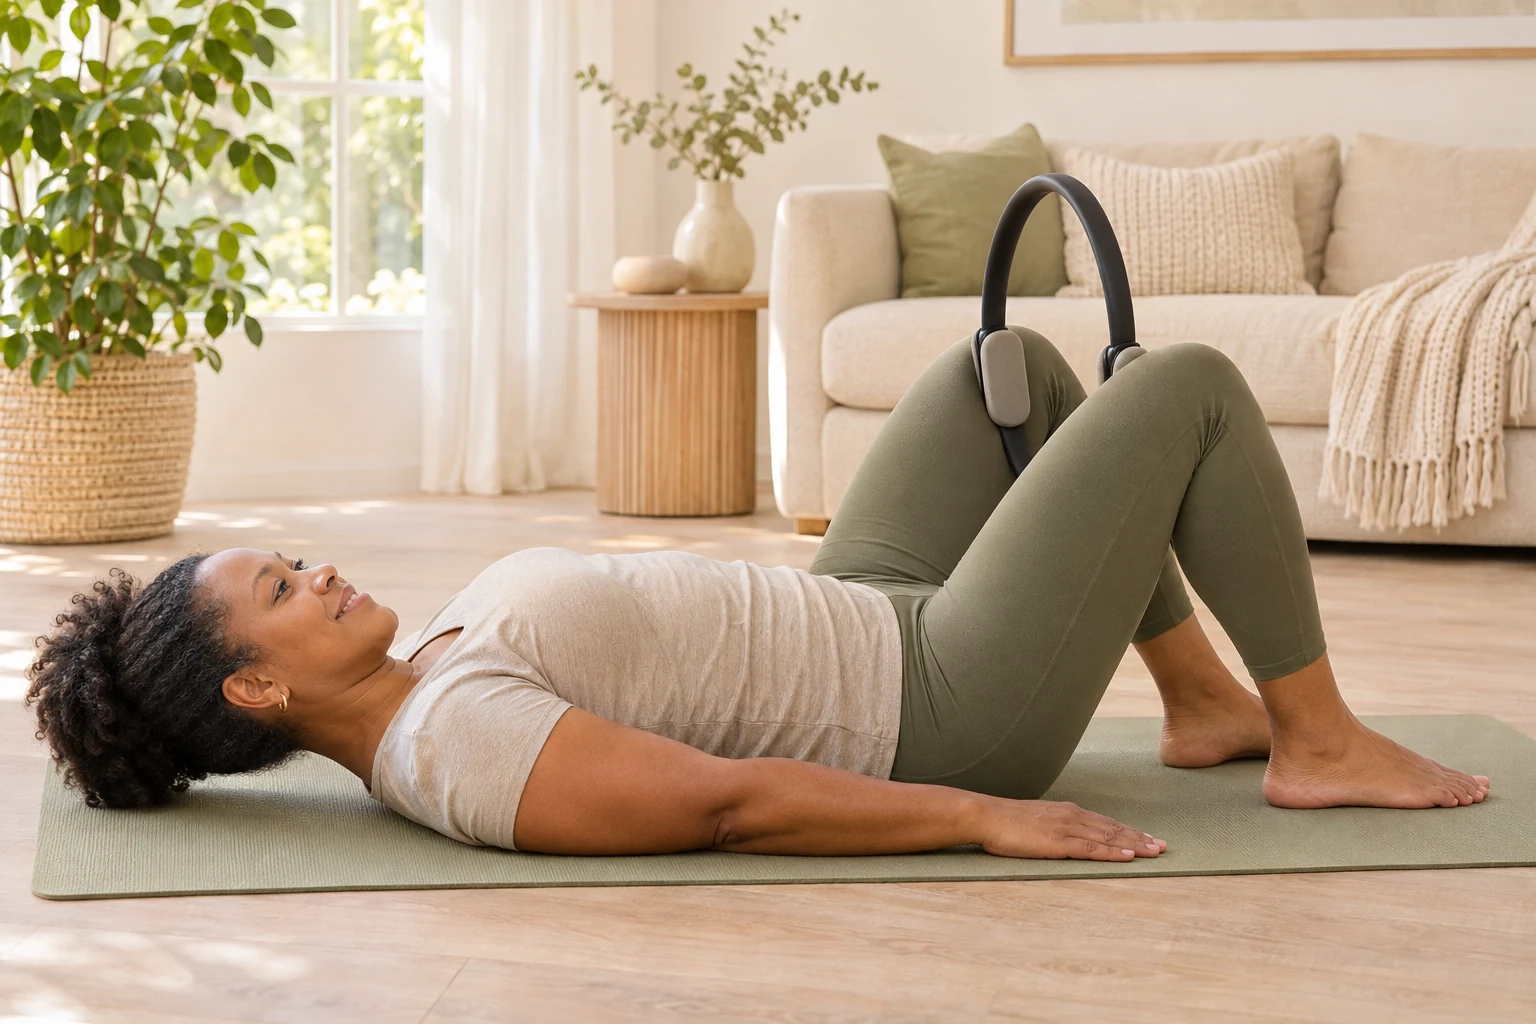
2. Supine inner-thigh press
Block 2, 3:30–5:00: one set of 6 gentle squeezes, 3 seconds pressing and 3 seconds releasing.
- Lower onto the mat through your side. Lie on your back, knees bent and feet planted, with your head supported if needed.
- Set the padded sides of the ring against the inner thighs just above the knees, not directly on the knee joints. Support it with a hand until secure.
- Exhale and lightly squeeze, keeping the pelvis resting. Inhale as you gradually release; remove the ring to rest.
Make it easier: Replace the ring with a folded towel and use a barely noticeable squeeze.
Watch for: A ring that is too wide can force the legs apart. Skip it if you cannot keep your feet comfortable and knees aligned.
3. Bridge with a light ring hold
Block 3, 5:00–6:30: one set of 6 bridges, roughly 6 seconds each, with rest afterward.
- Keep the ring above the knees and the feet about hip-width, adjusting the ring placement without straining.
- Maintain only enough inner-thigh contact to steady the ring. Exhale and raise the pelvis a short distance, pressing through both feet.
- Pause briefly without arching the ribs upward, then lower slowly. Rest completely between repetitions.
Make it easier: Leave the pelvis down and repeat a small pelvic tilt, or bridge without the ring.
Watch for: The ring must not dictate your foot spacing. Remove it if it slides, distracts you or makes your knees collapse inward.
4. Seated alternating heel lift
Block 4, 6:30–8:00: one set of 6 heel lifts per side, alternating; each lift and lower takes about 3 seconds.
- Return to sitting through your side, taking your time. Place the ring between the thighs above the knees with feet flat.
- Make gentle contact with the pads. Keep the toes down and raise the right heel, then lower it quietly.
- Repeat on the left. Let the ring remain steady rather than adding a strong squeeze with every lift.
Make it easier: Remove the ring and practise the alternating heel movement first.
Watch for: Stay centered on both sitting bones. This is controlled coordination, not a calf stretch.
5. Standing low ring press
Block 5, 8:00–9:30: one set of 6 presses, 3 seconds inward and 3 seconds releasing.
- Stand with feet comfortably apart, ring vertical in front of your lower ribs and a palm on each outside pad.
- Keep knees soft and elbows bent. Exhale into a mild inward press without leaning backward or lifting the shoulders.
- Release smoothly while staying tall. Put the ring down before changing your stance or taking a break.
Make it easier: Stay seated for this block, or hold the ring without compressing it.
Watch for: Never balance on the ring or use it as a walking support. If standing is unsteady, choose the chair.
6. Seated ring press with a small march
Block 6, 9:30–11:00: one set of 4 marches per side, alternating, then rest within the block.
- Sit with the ring held securely at lower-chest height. Begin with both feet down and one light press.
- Maintain gentle hand contact as you float one foot just off the floor for a count of 2; lower and repeat on the other side.
- Release the hand pressure between marches if coordinating both tasks makes you hold your breath.
Make it easier: Lift only the heel, keeping the toes down, or do the ring press and march separately.
Watch for: Avoid rocking backward to lift the leg. A very small foot clearance is enough.
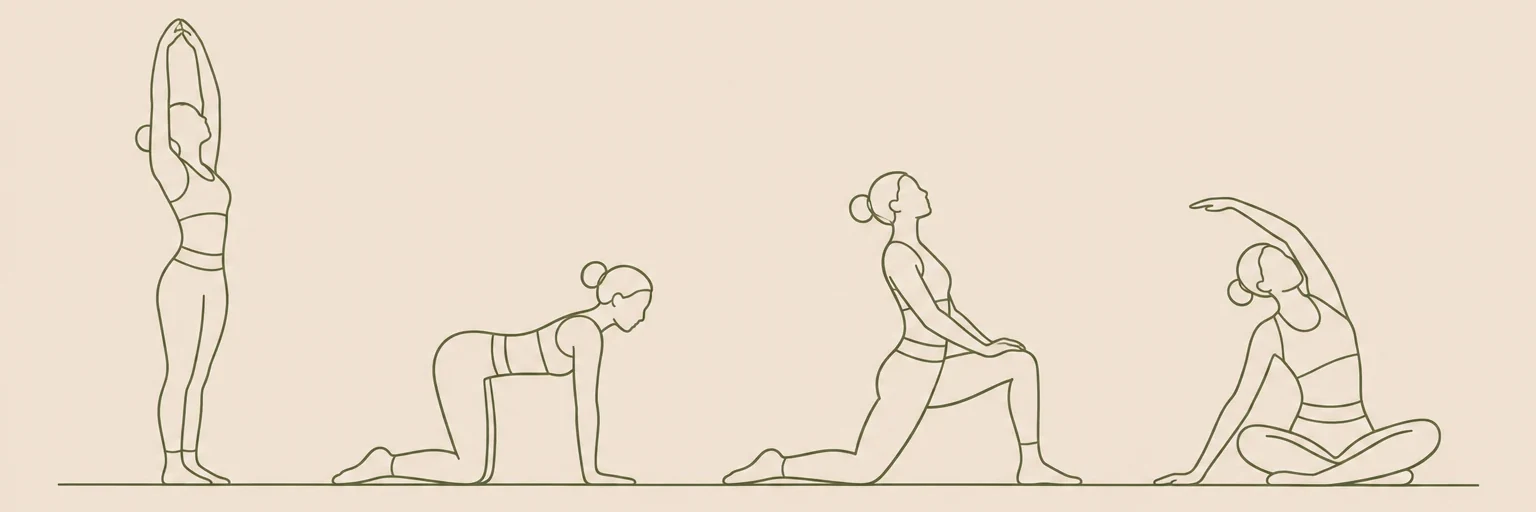
Illustrations are for orientation, not a depth or flexibility target.
How much pressure should you use?
Treat the ring as adjustable resistance, not a strength test. Start with a slight inward movement that you can reverse without a sudden recoil. The useful part is controlling both the press and the release. The ring does not need to become an oval, and a stronger spring is not automatically a better choice for a beginner.
These are loaded movements: muscles work against the ring or against body weight. They are not passive stretches, and they should not create a pulling sensation across a joint. If you mainly want to learn mat positions before adding resistance, begin with the Pilates beginner mat workout.
Choose your next session without adding everything
Try this routine on two nonconsecutive days initially, adjusting downward if you feel unusually tired afterward. Familiarity with setup is progress; you do not need extra rounds. When all six movements feel controlled, increase one exercise by one or two repetitions within its existing time block before considering more resistance.
For a prop with a softer contact surface, compare the small Pilates ball workout, which uses a different setup rather than substituting a ball into every ring exercise. Find the equipment-free option and other sessions in the Pilates guide. Avoid stacking several unfamiliar routines in one sitting.
When should you stop?
Stop a movement if you notice sharp discomfort, joint pinching, tingling, dizziness or a ring that will not stay in place. Ordinary muscular effort should remain manageable and settle when you stop. Do not repeatedly retry a movement that causes symptoms. Seek appropriate guidance before starting if an injury, recent operation, pregnancy or a health condition changes what exercise is suitable for you.
The sources below provide general exercise and stretching principles, not validation of this particular ring sequence. Equipment instructions also matter: follow your ring manufacturer's handling limits, and never stand on it or position it where a sudden release could strike your face.
Frequently asked questions
Can I use a rigid exercise hoop instead?
No. This sequence assumes a flexible Pilates ring with padded contact points. A rigid hoop does not provide the same resistance or handling. Use the no-ring modifications rather than improvising equipment.
Should I squeeze the ring throughout the whole workout?
No. Release between repetitions and sets. In the bridge and march, contact is deliberately light. A continuous hard squeeze can change your breathing and distract you from the movement.
Will the ring make one body area smaller?
This routine practises controlled resistance exercise; it cannot determine where your body changes size. Choose it for a manageable exercise session, not a promise of targeted fat loss or a particular appearance.
Keep exploring pilates
Find more in our pilates guides, or make the timing your own with the routine builder.
Sources & context
These references inform general movement and safety guidance. The sequence and timings are editorial suggestions, not an individually prescribed program.