

Your step-by-step routine
Set the seat height before starting
Choose a chair that allows your feet to rest fully on the floor with your knees roughly level with your hips. If the chair is too high, use a broad, firm foot support that cannot slide. Avoid stacking loose books or balancing on tiptoes. If it is too low to sit comfortably, choose a different chair rather than building a tall cushion stack.
Leave enough space to reach sideways without hitting furniture. Keep a phone or timer within reach so you are not leaning toward the floor mid-session. The yoga hub includes other formats, but this routine deliberately stays seated from beginning to end.
How the 18-minute practice fits together
Warm up for three minutes: sit with ordinary breaths for one minute, alternate easy ankle movements for one minute, then make small shoulder circles for one minute. Complete the six two-minute stations once. All movement changes are included within those windows. Spend the final three minutes resting your arms, letting your feet settle and deciding whether you are ready to stand.
There is no need to fill spare seconds with extra repetitions. If a setup takes longer, pause the timer and give yourself that time. If you later want to explore standing and floor positions, read 12 basic yoga poses for beginners before changing the routine.
1. Grounded seat and easy arm sweep
2 minutes: settle for 30 seconds, do four slow arm sweeps over 60 seconds, then rest for 30 seconds.
- Sit far enough forward that your arms can move, but keep your thighs supported. Place both feet flat and about hip-width apart.
- Let your hands rest beside your thighs. Lift your breastbone slightly without making a large arch in your lower back.
- Sweep both arms outward to a comfortable height as you breathe in normally. Lower as you breathe out; do not stretch a breath to match the movement.
Make it easier: Slide your hands along your thighs instead of lifting your arms. Use the chair back whenever you need support.
Watch for: Shoulders need not reach your ears. Lower the arm height if you find yourself shrugging, leaning back or straining your neck.
2. Seated cat-to-neutral
2 minutes: six gentle repetitions over 90 seconds, followed by 30 seconds sitting quietly.
- Place hands lightly on thighs, with elbows relaxed and feet still on their supports.
- Breathe out and let the upper back round a little as your breastbone moves back. Allow your gaze to lower without pulling your chin hard toward your chest.
- Return to your ordinary upright sitting position. Pause before the next repetition rather than rocking rapidly back and forth.
Make it easier: Make the movement smaller and keep part of your back touching the chair. You can also simply sit tall and release.
Watch for: Do not pull against your knees to force a deeper spinal bend. Skip this motion if you have been told to avoid spinal rounding.
3. Supported side reach
2 minutes: two 15-second holds per side, with 15 seconds to return and reset after each hold.
- Keep your left hand on your left thigh or the seat edge, without gripping hard. Keep both sitting bones in contact with the chair.
- Reach your right arm outward and slightly overhead, then lean just a little to the left. Look forward and continue breathing.
- Return upright before lowering the arm. Change sides and repeat the pair once.
Make it easier: Keep the reaching hand on your waist and make only a small sideways shift. Stay upright if leaning feels uncertain.
Watch for: Do not lift one hip or reach so far that the chair tips. A side reach should not feel like a pinch in the waist or shoulder.
4. Small seated rotation
2 minutes: four turns per side, alternating over 90 seconds; use the last 30 seconds to reset.
- Cross your hands loosely over your chest or rest them on your thighs. Keep knees and feet facing forward.
- Turn your breastbone a few degrees to the right, letting the head follow only as far as comfortable.
- Return to center before turning left. Use about five seconds to turn and return, with a pause between sides.
Make it easier: Keep your gaze forward and use a very small upper-body turn. Omit rotation if you have individual restrictions on twisting.
Watch for: Do not hook an arm around the chair back or use the hands as levers. More force does not make the rotation more useful.
5. Heel-supported leg lengthening
2 minutes: two 20-second holds per leg, with 10 seconds to bend the knee and switch after each hold.
- Move one foot slightly forward and set the heel down, toes pointing comfortably upward. Keep the knee a little bent.
- Sit tall and tip forward a few degrees from your hips until you notice a mild pull behind the thigh, or remain upright if that is enough.
- Return upright, slide the foot back beneath the knee and change legs. Repeat once per side.
Make it easier: Keep the heel closer to the chair and use more knee bend. There is no need to lean forward.
Watch for: Avoid rounding toward your toes or locking the knee. Stop for tingling, an electric sensation or discomfort behind the knee.
6. Seated mountain and alternating heel lifts
2 minutes: sit tall for 30 seconds, do eight alternating heel lifts over 60 seconds, then rest for 30 seconds.
- Return both feet beneath your knees. Rest your hands on your thighs and let your shoulders settle.
- Keeping the toes down, raise one heel a small distance and lower it slowly. Change feet; each lift and lower counts as one repetition.
- Use the remaining time to sit with both feet flat. Notice your breathing without trying to slow it dramatically.
Make it easier: Make the heel lift tiny or leave both feet grounded. A quiet seated finish is a valid replacement.
Watch for: This is gentle active ankle movement, not a passive calf stretch. Do not push so hard through your toes that you slide backward.
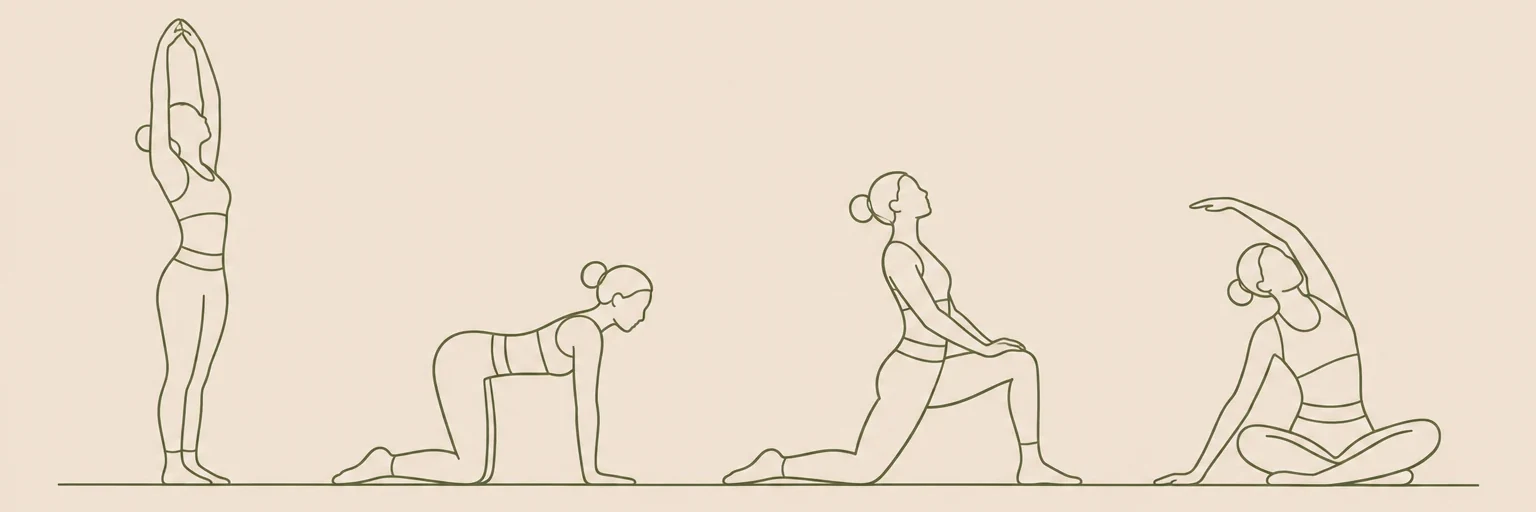
Illustrations are for orientation, not a depth or flexibility target.
How often, and how much effort?
Try the routine two or three times a week initially, or begin with the first three stations. Side reaches and leg holds use mild stretching; arm sweeps, rotations and heel lifts are active movements. Although a chair supports some body weight, these movements still require effort. Avoid treating the chair as proof that every position is suitable for every person.
Stop for sharp pain, pinching, dizziness, numbness or tingling. End the session for chest discomfort or unusual breathlessness and seek appropriate help. Ask for individual guidance if a health condition, pregnancy, recent surgery or injury affects exercise. For guidance on choosing a first session rather than adding more poses, see yoga for complete beginners.
Frequently asked questions
Can I use an office chair?
A wheeled or swiveling chair can move unexpectedly during a reach. Choose a fixed, firm chair without wheels instead, and secure it against a wall before beginning.
Does chair yoga require standing up?
This version does not. Every station stays seated. Other classes may include standing poses using a chair for balance, so check the actual sequence rather than relying on the class name.
Should I push deeper if I barely feel a stretch?
No. Check that your position is stable, then make only a small adjustment if comfortable. Active movements do not need to create a stretching sensation, and a large sensation is not the goal.
Keep exploring yoga
Find more in our yoga guides, or make the timing your own with the routine builder.
Sources & context
These references inform general movement and safety guidance. The sequence and timings are editorial suggestions, not an individually prescribed program.